
Installation
If you are familiar with Eclipse and just want to start using LSL Plus, you can skip straight to the plugin installation instructions. The next few paragraphs briefly introduce the Eclipse platform.
Eclipse Overview
Eclipse is a multi-purpose integrated software tools platform, often used to 'host' integrated development environments (IDEs) for different languages, such as Java. To use LSL Plus, you will first need to install Eclipse. The Eclipse project lives at:
www.eclipse.orgYou should get Eclipse version 3.3.1 or later (ideally, at least 3.4). If you already have Eclipse, you can install LSL Plus into your existing installation (with the caveat that LSL Plus has only been tested with Eclipse 3.3.1, 3.3.2 and 3.4.1).
Eclipse is a platform plus various plugins. There are several different configurations that you can download to start off with, and it doesn't matter which configuration you choose, you can install LSL Plus on any of them (release 3.3.1 and above). A fairly 'minimal' release is the release for C/C++ development. This release contains only the 'core' Eclipse platform plus a small set of plugins for C/C++ development. If you only intend to use Eclipse for LSL, then it is a good choice.
Another possibility is the Eclipse Classic download, which also contains a small set of additional plugins (for Java development). The download size is much larger because of the inclusion of all the Java source code; nevertheless it is a good choice if your primary use will be LSL development.
Pluigin installation
Once you have Eclipse up and running on your computer (an easy process -- you unzip the Eclipse archive whereever you want to install it), you can then proceed with the LSL Plus plugin installation.
The LSL Plus plugin has two main components -- the LSL Plus User Interface and the LSL Plus native executable. The LSL Plus User Interface is pure Java, and thus is works transparently across all platforms on which Java runs. The LSL Plus native executable is a binary executable that is different depending on the platform on which you are running (i.e. Windows/x86 versus Linux/x86, versus Mac OSX/x86, etc.).
LSL Plus distribution consists of the 'main' LSL Plus plugin, and (possibly) an additional plugin containing the platform specific executable. 'Possibly' because the platform specific native executable may not have been built for your platform (in which case, never fear, you can build it yourself).
Installation for Eclipse 3.4 (Ganymede) and Beyond
The standard way to install an Eclipse plugin is via an 'update site'. An update site can be local (i.e. a directory on your computer than contains some plugin files and some meta- data) or remote (some web-accessible location). LSL Plus supports both methods: distribution files that include and 'update site' directory can be downloaded from SourceForge, and several remote update sites (which leverage the globally distributed SourceForge file distribution system) have been set up.
Both methods (local and remote) will work with Eclipse 3.4. The remote update sites, however, are not set up to work with the older update manager that is available in Eclipse 3.3
If you do not want to use the remote update site, you must first download the release package, and unzip it somewhere. There will be an 'update-site' directory underneath the extracted release directory. You will need to specify this when you use the update manager to install the plugin. Otherwise, you need to select an appropriate update site from the update site list, which you will specify in the update manager.
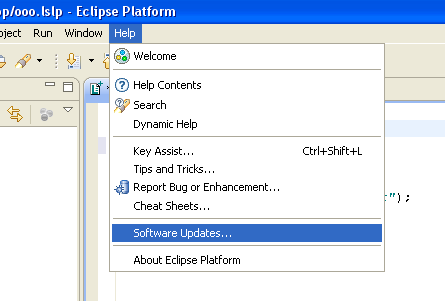
To launch the update manager, from within Eclipse select Help -> Software Updates...:
Select the "Available Software" tab of the Software Updates and Add-ons popup
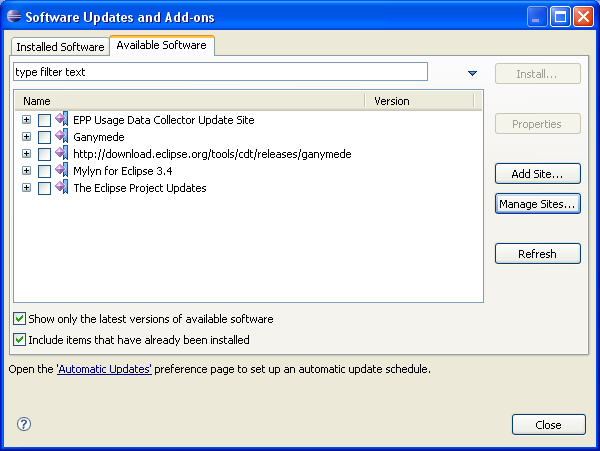
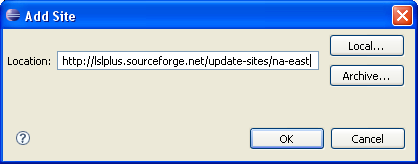
Click 'Add Site' to add the update site for LSL Plus (if you are using a local directory, click 'local', and browse for the path to the directory. Otherwise, enter the web URL of the update site.)
The update site shows the latest available plugins:
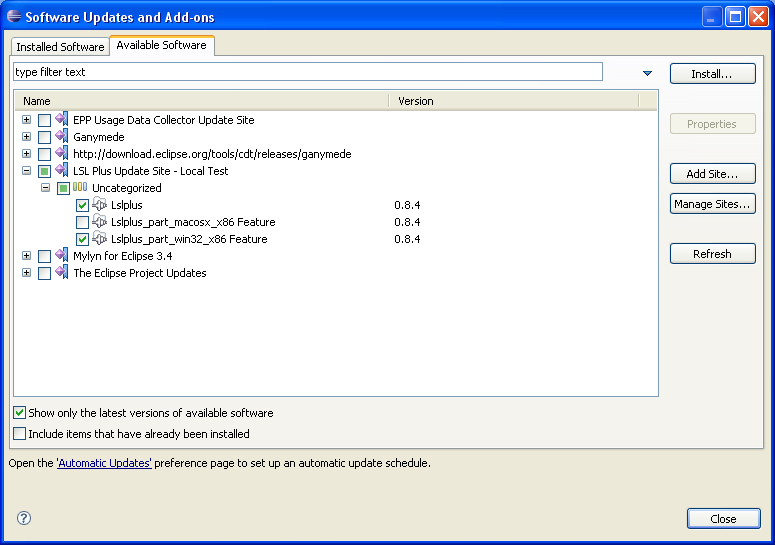
Note the item named simply "LslPlus" and the items named "LslPlus_part...". The item named "LslPlus" is the basic UI plugin, and the others are the platform specific portion, containing the native executable. Select the base plugin and the platform specific 'part' appropriate to your platform (note: it is likely that there will be more choices, and also possible that your platform isn't listed. If your platform isn't listed, you can still built it yourself.
Once you have selected the appropriate pieces, select "Install" and the update manager will guide you through the rest of the steps. When it asks you to restart Eclipse, DEFINITELY do so; LslPlus will not work properly unless you restart after installation.
One key advantage of the 'remote' update site is that you will be able to skip the site setup after doing it once; new versions of the plugin will become available, and will appear on the update site for you to install. If you use the 'local' option, you will have to download a new package and unzip it each time you want to migrate to a newer version.
Installation for Eclipse 3.3 (Europa)
The following instructions describe the Europa installation sequence.
First get the latest release, then unzip it somewhere.
For the sake of these instructions, we'll assume you're running Windows and have extracted the lslplus release to your C: drive, such that all the content is underneath C:\lslplus-release. Underneath this directory is a directory called 'update-site', which is where the LSL Plus plugin is located. To install the plugin, you must use Eclipse's plugin management tool. From within Eclipse, select:
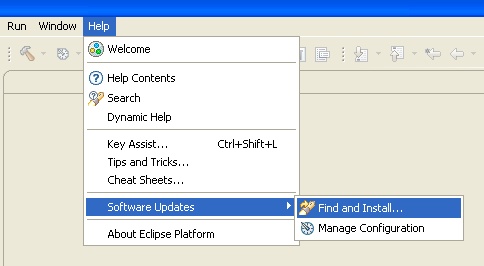
(Help -> Software Updates -> Find and Install...)
This menu selection brings up the "Install/Update" wizard.
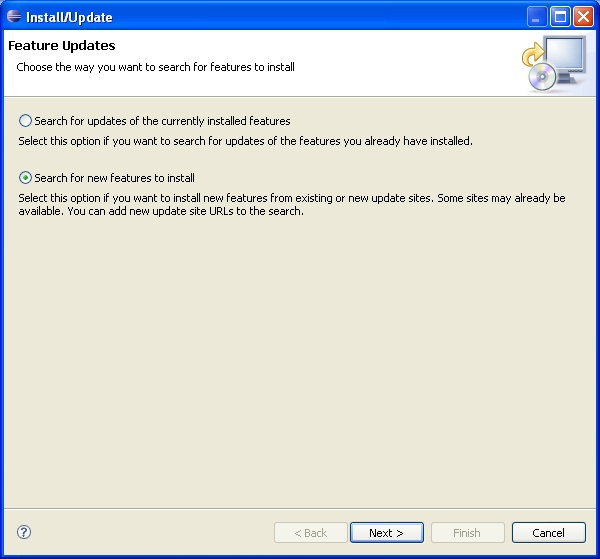
On the first page (above) of the wizard, select "Search for new features to install", and click "Next".
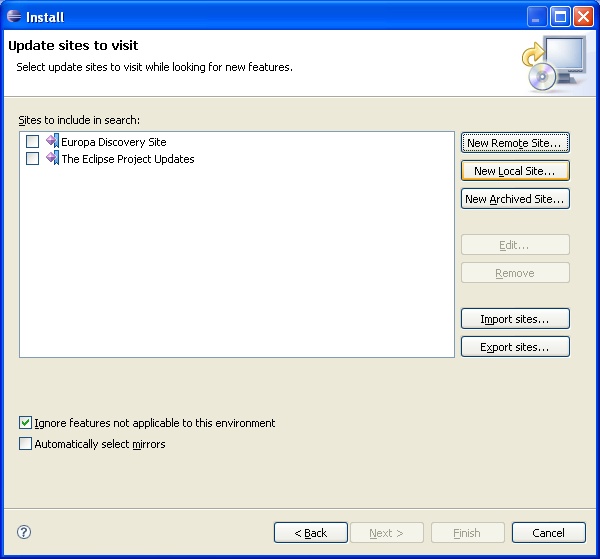
Select "New Local Site..."

and in the file selection dialog, browse to the "update-site" directory and select it (i.e. in this example, C:\lslplus-release\update-site), then click "Ok".
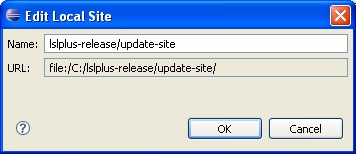
An "Edit Local Site" dialog will appear (above), which will allow you to give this update site a useful name, if you care to. Click OK.
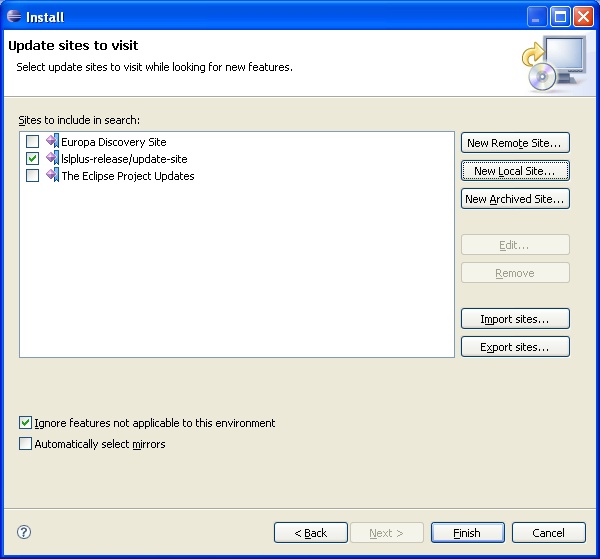
The update site you just added now appears in the list in the main pane of the Install wizard, and should already be checked. Select "Finish".
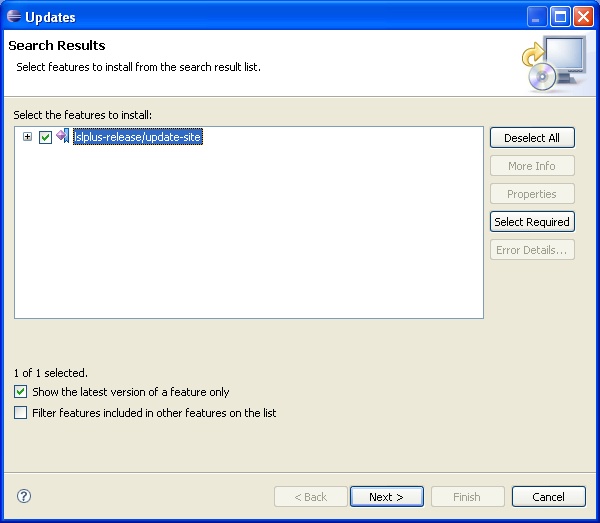
The 'Updates' dialog (above) will appear. 'Check' the 'LslPlus' item that appears in the list, and the LslPlus_part... item most appropriate for your platform (if any -- if there is none available for your platform, you can build it yourself and select 'Next'.
The update manager will guide you through the rest of the steps. When it asks you to restart Eclipse, DEFINITELY do so; LslPlus will not work properly unless you restart after installation.
Post-Installation (Eclipse 3.3 or 3.4)
At this point you may receive a warning popup telling you that Eclipse can't find the native executable. This will occur if:
- There was no LslPlus_part... available for your platform, or
- There was, but you didn't select it.
In the latter case, you can go back into the update manager and install it; in the former case, you can build it yourself, or wait and hope a binary distribution becomes available soon.
To actually USE the plugin, you need to create an LSL Plus project.
Select File -> New -> Other...,
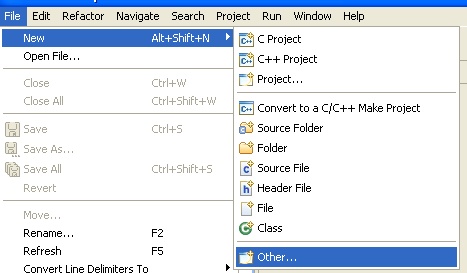
which will bring up the "New" wizard,
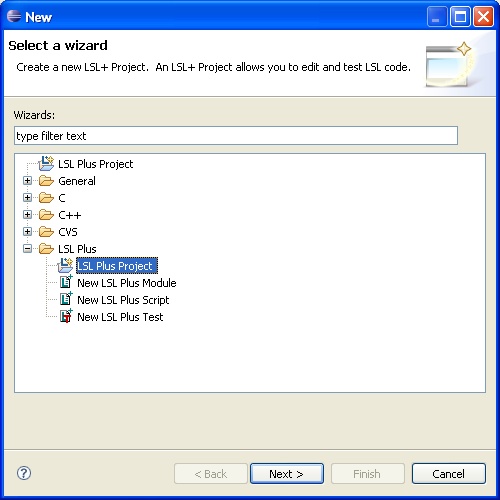
which prompts you to select a wizard. Under the "LSL Plus" folder is the "LSL Plus Project" wizard. Select this and click "Next".
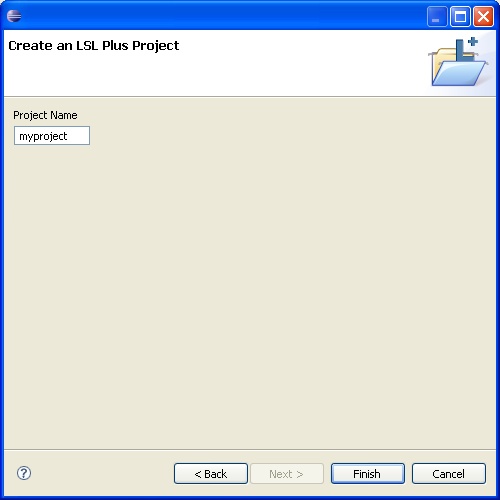
On the next page, enter a name for your project (e.g. "myproject"), and click "Finish". Eclipse will switch into the "LSL Plus Perspective" which you may not notice, but looks like this:

You should have the "Navigator" view on your display, and it should show your new LSL Plus project. The project folder will be decorated with a wee "L" to indicate that it is indeed an LSL Plus project.
Now you can add LSL Plus scripts and other LSL Plus files to your project.
Building the Native Executable
If a precompiled executable is not available for your platform, you can compile it yourself, from source. Building LslPlus requires the installation of the Glasgow Haskell Compiler (GHC) version 6.10.1 or later, which is available from the GHC website. You can obtain the source distribution from the Hackage Repository, on the LslPlus page.
Once you have the source distribution, which is a tarball that has been compressed with gzip, and have extracted it to some directory, from within that directory, execute the following command:
runhaskell Setup.hs configure
You will probably be told that there are some libraries on which the package depends that are not installed. All of these other libraries, which aren't distributed by default with GHC, are available from the Hackage Repository. The following packages are known to be needed:
Each package is installed using the following sequence of commands:
    runhaskell Setup.hs configure
    runhaskell Setup.hs build
    runhaskell Setup.hs install
Note: some packages may have a setup script called 'Setup.lhs' rather than 'Setup.hs'; you can check by looking in the directory after extracting the package from the tar file. Note also that there are options that can be set when running the configure step, such as where to install executables.
After all dependencies are resolved, LslPlus can be installed the same way:
    runhaskell Setup.hs configure
    runhaskell Setup.hs build
    runhaskell Setup.hs install
The final step, 'install', will install the executable in the default location for GHC-built executables (e.g. /usr/local/bin). Wherever you install the executable, it must be on your (Windows/Linux/Macosx/etc.) PATH for the Eclipse plugin to find it). After you have successfully installed it, you can launch Eclipse and use all the features of the LSL Plus plugin.
If you have built the executable, but the Eclipse plugin still has trouble finding it, you can specify in the LSL Plus preferences page, from within Eclipse, precisely where to find it. The preferences page is part of the normal Eclipse preferences system (Window -> Preferences), and looks something like:
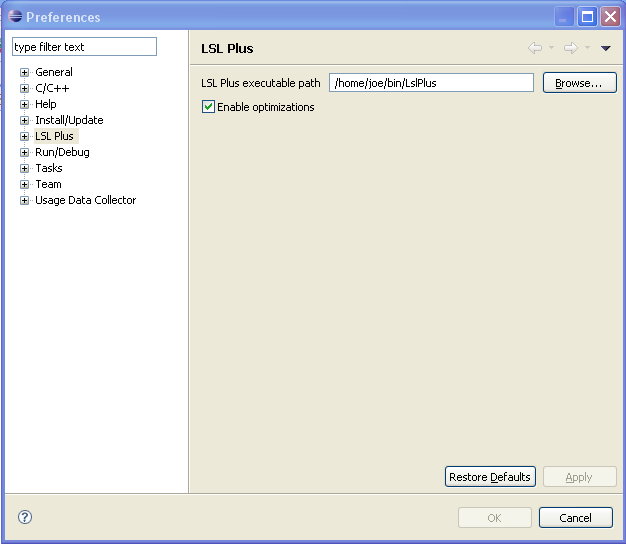
Once you have set the path to the LSL Plus executable, you need to restart Eclipse.